

Share:
Grills being installed into an island constructed of combustible materials must use an insulated grill sleeve.
When you are measuring for your cut-out, please take the space needed for the grill sleeve into consideration.
You will need both your island and your grill (or the cut-out measurements from the manufacturer) for the opening needed.
Very important: if your countertop isn’t installed yet, don’t forget to factor in that additional height and overhang!
Step 1
Find the “Cutout Width” (A). This is the width opening required for your grill head. Determine exactly where you want your grill to go, locate the center point, then measure out half the width to either side.
Step 2
Find the “Cutout Depth” (B). This is how far back you should measure from the front lip of your island to make your cut. You don’t want the grill head or control panel sticking too far out or receding too far in. If you are unsure, double-check the “opening needed” requirements from the manufacturer.
Step 3
Find the “Cutout Height” (C). This is how far down the grill head will sit once in place. This depends on the height of the control panel and drip pan or other features that extend its height. Additionally, cutout height dimensions almost always include a small gap under the grill for airflow.
Step 4
Measure twice, cut once! After you have double-checked all your measurements you’re ready to start making the cuts!
A = Cutout Width (step 1)
B = Cutout Depth (step 2)
C = Cutout Height (step 3)
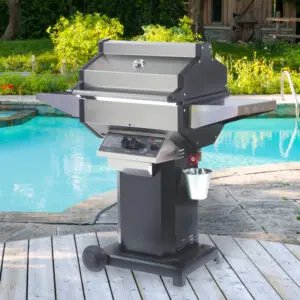
Freestanding grills offer flexibility, convenience, and the ability to adapt your outdoor grilling area to your changing needs. Whether you’re a casual griller or a
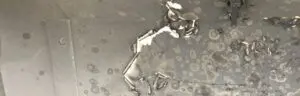
This is a question that we receive on a regular basis. As much as the photo resembles the look of peeling paint, MHP has never
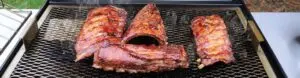
Smoking items on your grill is a great way to change things up Ordinary meat, whole fish, poultry and game becomes a taste sensation when
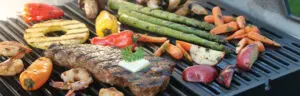
The first time you use your SearMagic Grids we suggest turning your grill on high and burning for 10-15 minutes to burn off any of